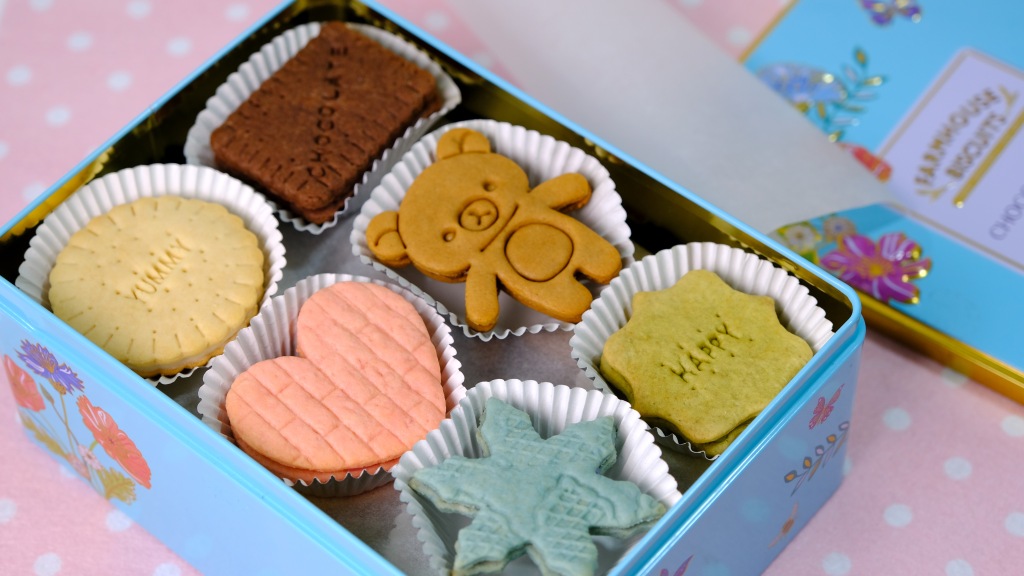
Hey Guys, today we are making these “Homemade Assorted Biscuits”.
As a 90s kid, Khong Guan was my favourite brand for snacks. A huge tins of assorted biscuits which contain at least 5 varieties of biscuits with plain and sugar icing swirl in the middle.
I don’t know if children nowadays still take Khong Guan, but for my generation and before me, this is what our childhood was made of.
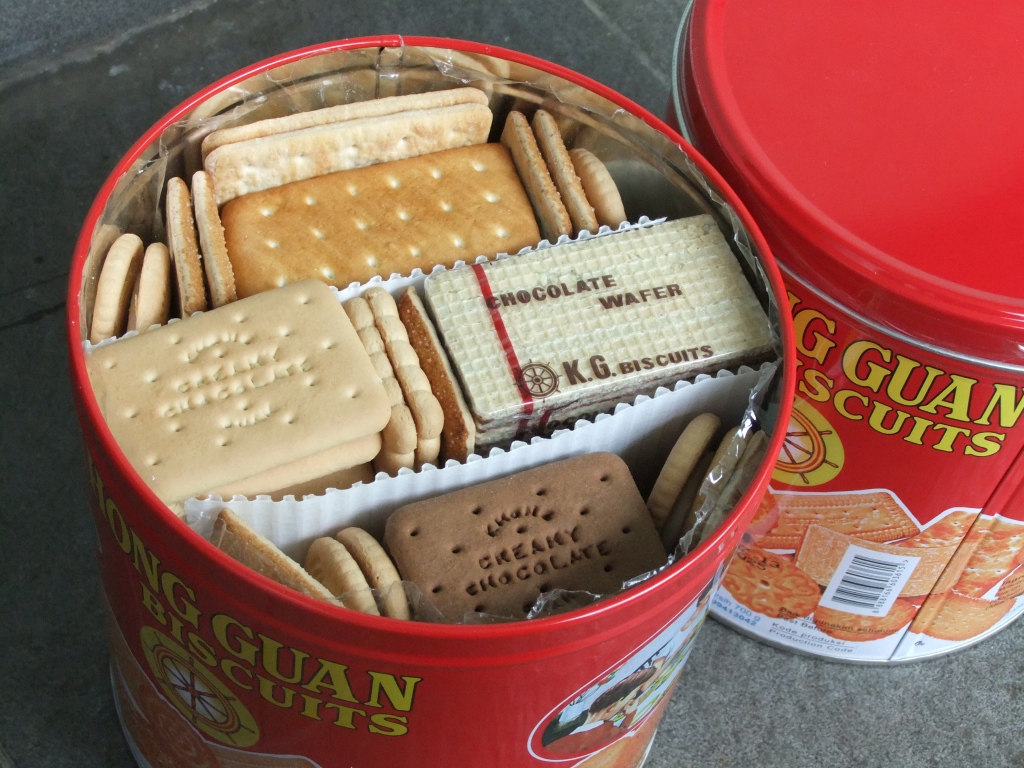
My personal favourite are their cream sandwiches. These bit-sized little biscuits are addictive and are really tasty, specially the creamy chocolate flavour. I grew up with them and it’s still as tasty as before.
The cream biscuits are buttery, and slightly sweet, without being excessively oily like many of the other biscuits on the market.

As I grew up and learned baking, I still love them, but I try to avoid consuming any artificial food flavours as much as I can.
So I was thinking of making my own healthier version of assorted biscuits. With this recipe, you can make 6 flavours with 1 dough.
The flavours are endless, feel free to make any flavour you like, just remember that you need to combine the flavour ingredient with hot milk first before you mix it into the dough.
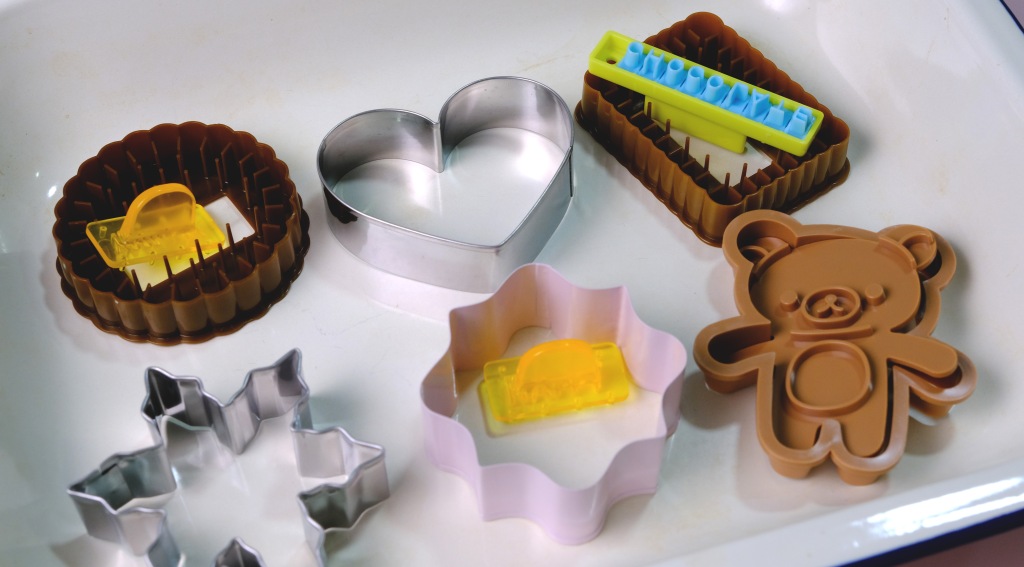
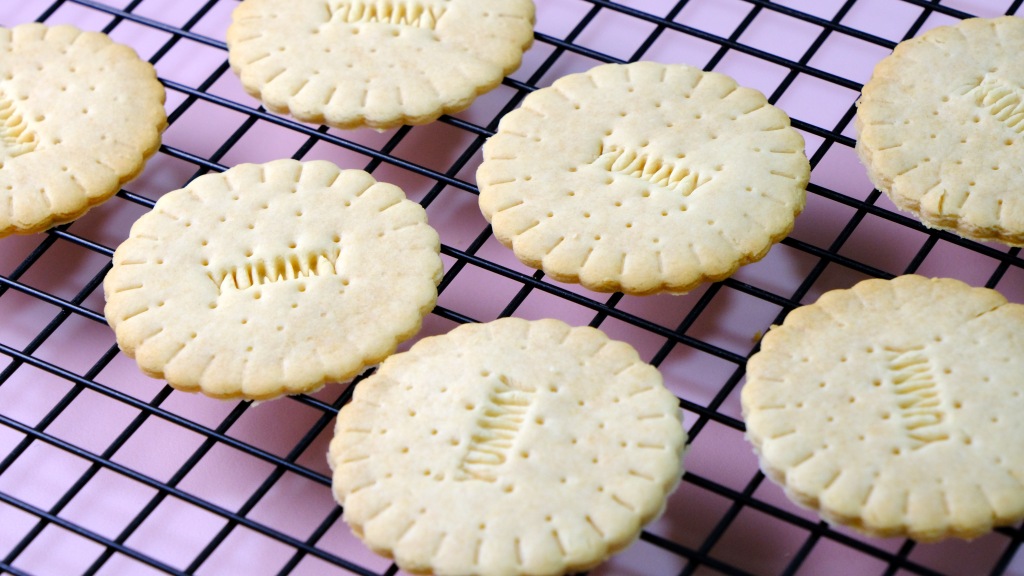
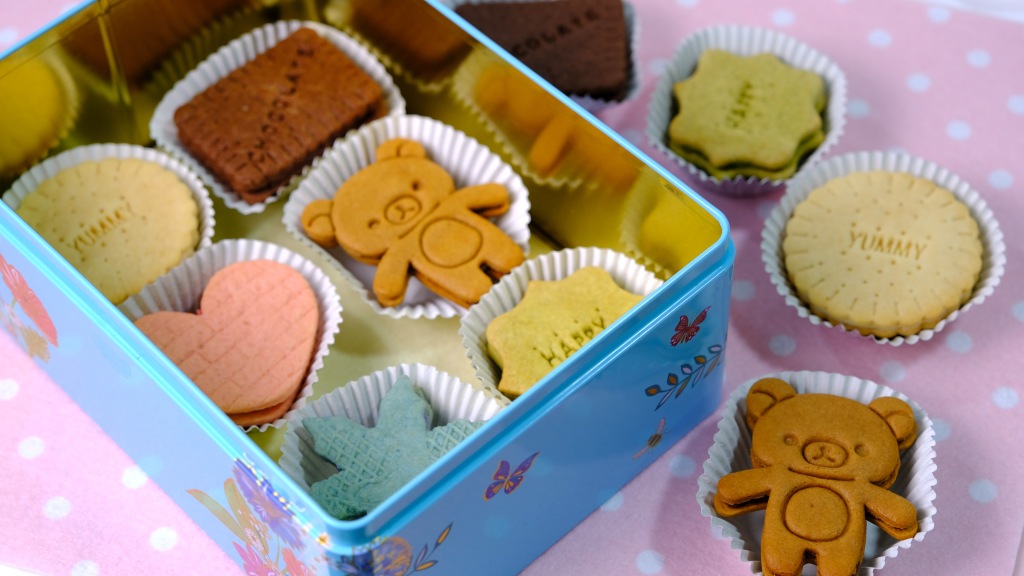
You can create any shape you want, these are some cookie cutter collection that I had.
The round and square brown colour vintage style cookie cutter with embossing words in the middle (I bought in Daiso) are my favourite, it’s really similar to the real Kong Guan biscuits.
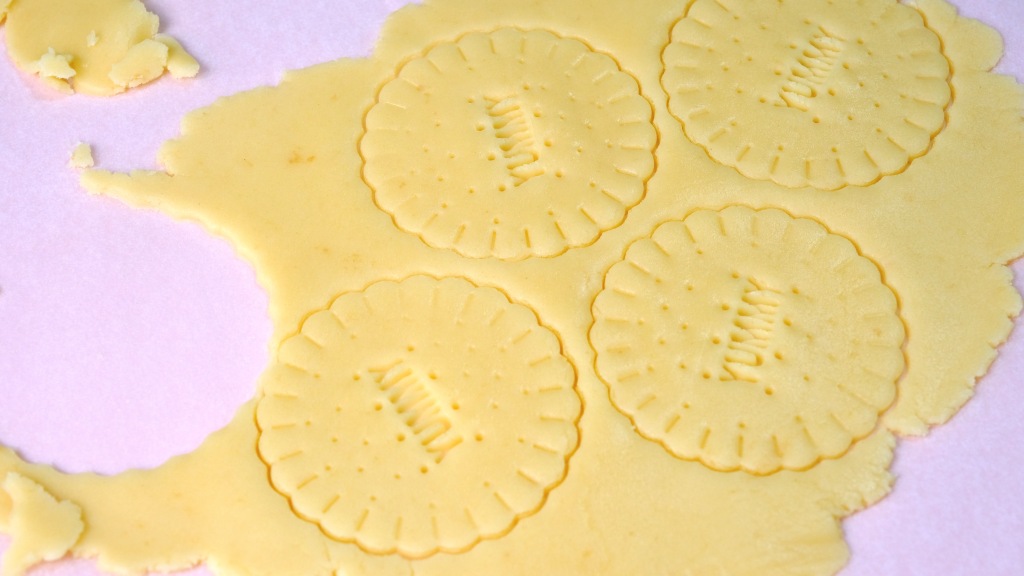
I am using 3 mm thickness ring for the rolling pin. Try not to roll more than 4 mm thick as the dough will be rise up while baking.
It’s not necesarry to spare a lot of space in between the biscuits, coz the dough doesn’t tends to spread while baking
And please note that always bake equally sized biscuits together to make sure they are cook in the same time.
If you mix different sizes, the small ones are already cooked when the larger ones are still raw in the middle.

Some people like to have them just plain without any icing. I personally love to fill them with some creamy icing as a sandwich biscuits to bring back some memories of my childhood days.
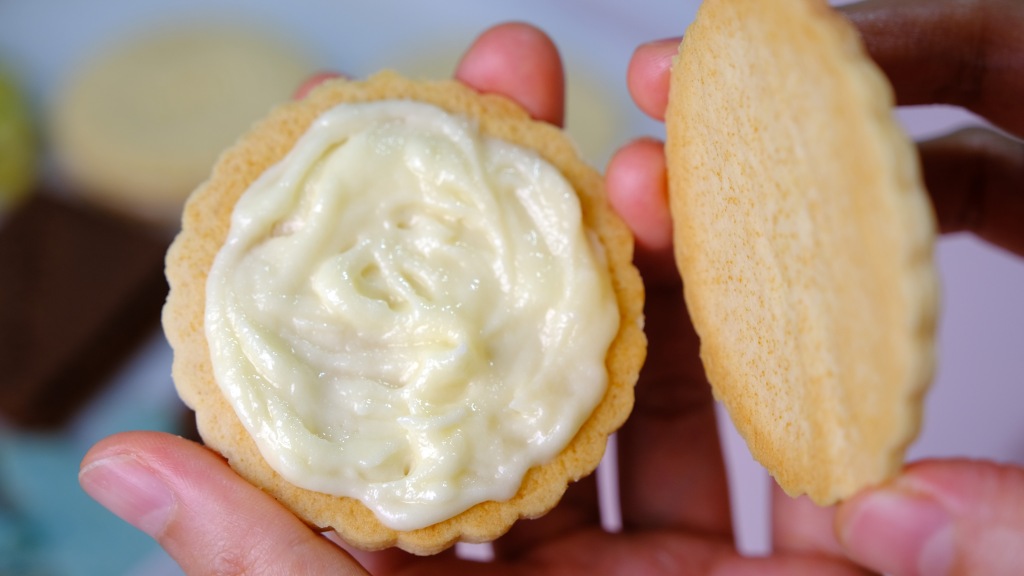
You can use small spatula to apply the filling, I found that using piping bag is easier for me, so I can reach the edge of the biscuit.

No need to be so perfect, and if you have a huge sweet tooth, you can add a little bit more icing and vice versa.

I like to apply huge filling for my chocolate sandwich biscuits because it’s so… yummy…
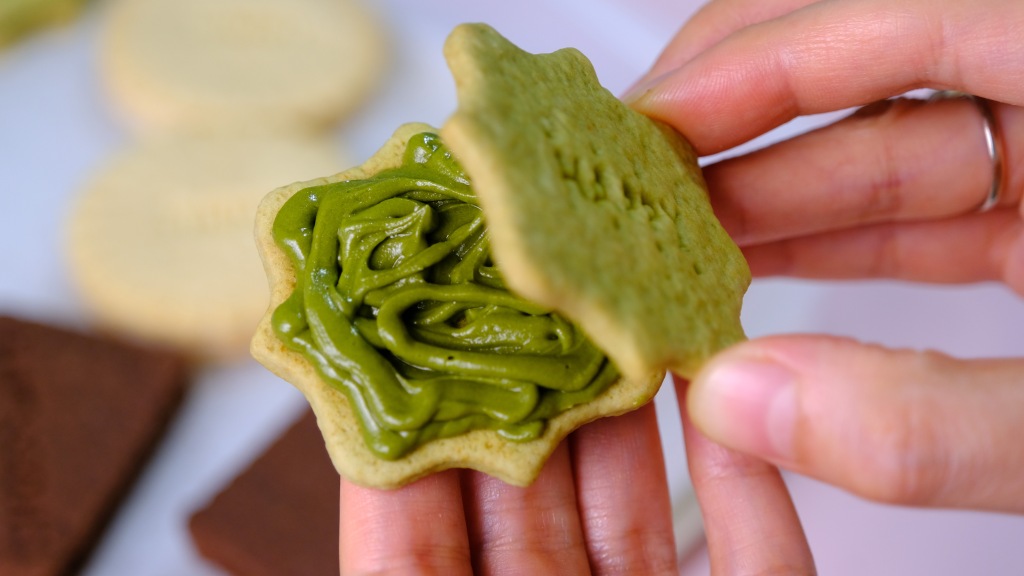
Some matcha flavours for green tea lovers? The bitterness from the green tea powder perfectly balance the sweetness of the icing sugar.
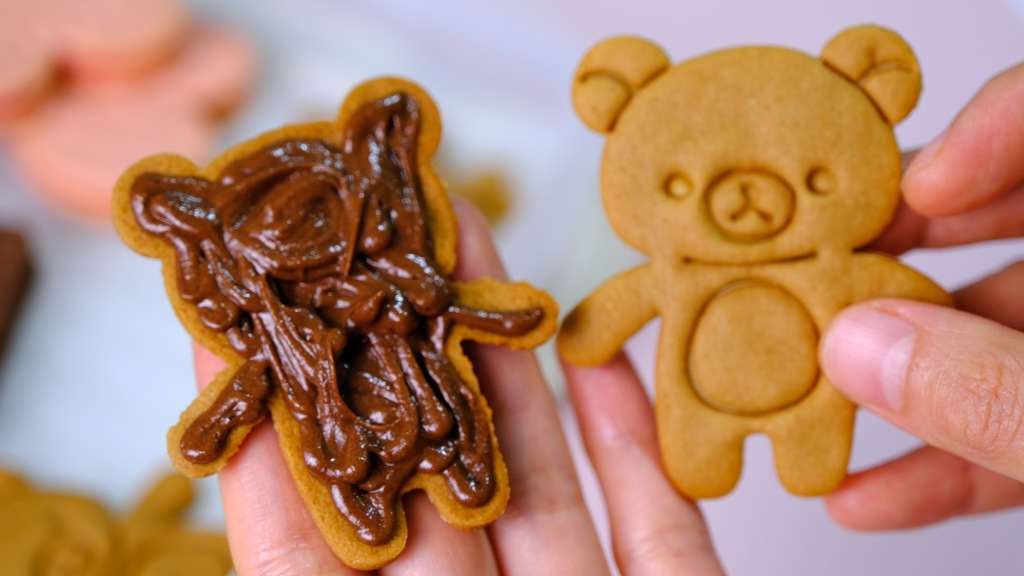
And if you have a cute cookie cutter it will be even more perfect!

Gets bored with sweet and bitter flavours? Add some fresh sour fruity flavour to compliment the biscuits.

Last and the most important; create 1 flavour that makes people curious, your biscuit box will be so much fun!

Place them in individual cupcake case and store in an airtight jar or maybe a vintage box.

My favourite way to eat them was to bite off the biscuit before the icing sets hard so the icing melts in my mouth.
It’s really light in texture, crunchy, not too sweet, heavenly assorted sandwich biscuits! I’m sure your kids are gonna love them so much!
Looking for special gift for someone? These homemade biscuit box works best!!
I hope that you will enjoy the recipe, Love You Guys!
HOMEMADE ASSSORTED BISCUITS
Yield: 18 pieces sandwich biscuits
Active time: 1 hours
Total time: 2 hours
INGREDIENTS
Biscuit Dough:
- 260 grams All-Purpose Flour
- A pinch of Salt Less than
- 1/2 teaspoon of Baking Soda
- 1/2 teaspoon Vanilla Extract
- 60 grams Unsalted Butter
- 150 grams Condensed Milk
- 4 tablespoon Milk (hot)
- Food Colouring and Flavouring
Creamy Icing Filling:
- 100 grams Canned Butter
- 125 grams Icing Sugar
- 1 teaspoon Vanilla Extract
- Food Colouring and Flavouring
INSTRUCTIONS
Biscuit Dough
- In a large bowl mix all the dry ingredients (flour, salt and baking soda).
- Add in the unsalted butter, rub in with your fingers until the mixture looks like fine crumbs.
- Pour in the condensed milk, stir a while with a spatula, then using your hand continue kneading, gather all the small crumbs until the dough comes together and form a smooth ball (do not over mixed or it will end up with a tough biscuits).
- Divide the dough into 6 equal portions (78 gr each), always cover the dough with a plastic wrap so it doesn’t dry up.
- To create flavour variations
I suggest working on the dough one flavour at a time so the dough won’t sit to long and becomes greasy.
– Vanilla: add 1 portion of the dough with 2 teaspoon of hot milk, mix well.
– Chocolate: diluted 2 teaspoons of cocoa powder with hot milk, mix it with 1 portion of the dough.
– Matcha: diluted 1/2 teaspoon of Matcha Powder with hot milk, mix it with 1 portion of the dough. – Coffee: diluted 1 teaspoon of instant coffee with hot milk, mix it with 1 portion of the dough.
– Raspberry: diluted a bit of red food colouring with hot milk, mix it with 1 portion of the dough.
– Almond: diluted 1/4 teaspoon of blue pea powder with hot milk, mix it with 1 portion of the dough. - To roll the dough
To maintain each shapes make sure that every pieces cut on top on their own greaseproof paper that will be bake later.
The dough is quite sticky, I suggest to place the dough in between greaseproof paper so in won’t stick to the rolling pin.
Using 3 mm thickness ring for the rolling pin, roll the dough and cut it with cookie cutter.
* Try not to roll more than 4 mm thick as the dough will be rise while baking.
It’s not necesarry to spare a lot of space in between the biscuits, coz the dough doesn’t tends to spread while baking. - Bake them in the preheated 160 C oven for about 10-12 minutes, depending on size or until golden brown around the edges.
- Take it off from the heat and transfer to a rack until cooled completely.
Creamy Icing Filling
- Simply combine the canned butter, icing sugar and vanilla extract. Mix them until completely smooth.
- Divide into 6 equal portions (40 gr each), add in the extracts or flavour powder:
– Cocoa: add 2 tsp cocoa powder to 1 portions of icing
– Matcha: add 1 tsp matcha powder to 1 portions of icing
– Coffee: diluted 1/2 tsp of instant coffee, add in with 1 tsp of cocoa powder to 1 portion of icing.
– Raspberry: add 1/2 tsp of raspberry powder to 1 portion of icing
– Almond: add 1/4 tsp of blue pea powder and 1/2 tsp of almond extract to 1 portion of icing.
Assembly
Sandwich the plain biscuits with the icing filling and vice versa, place it in an airtight jar, Let it sets hard for at least 2 hours before eating.
NOTES
- Always bake equally sized biscuits together to make sure they are cook in the same time.
If you mix different sizes, the small ones are already cooked when the larger ones are still raw in the middle. - Don’t re-roll dough more than 2 times or it will become tough.
- Make sure that you store the biscuits in an airtight jar or container, so the crunchiness can last longer.
- For the filling; you can substitute canned butter with either margarine, shortening or ghee if you like.
- Stored properly, biscuits should last for up to 2 week at room temperature.
