
Hellooo friends and welcome back!! Today we are making some adorable “Sumikko Gurashi Meringue Cookies” perfect for anyone who’s a fan of this Japan cute animal characters 🙂
The main Sumikko characters are Shirokuma – a polar bear who dislikes the cold; Penguin – who is unsure of being a penguin; Tonkatsu – a piece of leftover pork cutlet; Neko – a timid and anxious cat; and Tokage – a dinosaur who pretends to be a lizard.
Anyway, we are gonna make 4 of them today ; Shirokuma, Penguin, Neko and Tokage.

These cookies are almost too pretty to eat. If you’ve never had one, meringues are light, airy cookies with crisp and chewy interiors. They are not only so adorable, but can floating in your coffee too 😛 .
I’m sharing a classic vanilla meringue recipe today (with notes on how to add your own different flavors!), and the taste always reminds me of marshmallow 😍.

The technique takes a little bit of practice, and a long time in the oven, but I’ll walk you through the steps in the recipe so that you can make your own perfect meringues! Enjoy!!!
SUMIKKO GURASHI MERINGUE COOKIES
Yield: 16 pieces
Active time: 1 hours
Total time: 3 hours
INGREDIENTS
- 130 grams Egg whites
- 260 grams Icing sugar
- 1 teaspoon vanilla extract
- Food colouring pink, blue, green, yellow, brown, black
- Vodka (for painting the final details)
INSTRUCTIONS
- In a large bowl, place the egg whites and the icing sugar. Mix until well combined.
- Once that is all combined, place the bowl over boiling water on the stove. Whisk vigorously until sugar dissolved and there are no more sugar granules visible. Remove from heat.
- Using hand or stand mixer, beat on medium high until egg whites become bright white but still runny.
- Add in vanilla extract, Then beat on medium high to stiff peaks. This process will take for about 8-10 minutes.
*You may substitute it with any extracts. If I’m adding a different flavor, I usually still keep the vanilla but cut it down to 1/2 teaspoon, then add 1/4-1/2 teaspoon of the other extract.
Be careful as some extracts (like Peppermint) are very strong, make sure that you don’t add in too much! - Separate the batter in a few small bowl, Add in food coloring to the color for each character.
These information is for your guidance of what colour you will need for all the characters and details.
FOR BODY (big round tip):
White (Shirokuma head), Soft blue (Tokage head), Soft Yellow (Neko head), Soft Green (Penguin head).
FOR DETAILS (small round tip):
White (ears, hands for Shirokuma and nose for Neko), Soft blue (hands and fins for Tokage), Soft yellow (ears and hands for Neko), Soft green (hands for Penguin), Soft pink (ears for Shirokuma, Brown (nose for Shirokuma), Yellow (mouth for Penguin) . - Load the meringue batter into a pastry bag fitted with a round tip and a ziplock bag works too.
- Line the baking tray with a parchment paper.
- Then to pipe the meringue, start out by creating a round shape for each character (4 pieces for each character). And then adding other details.
- Bake these off in the preheated 180° F (80° C) oven for about 2 hours.
- Once the meringue have come out from the oven, let it cool completely on the cooling rack.
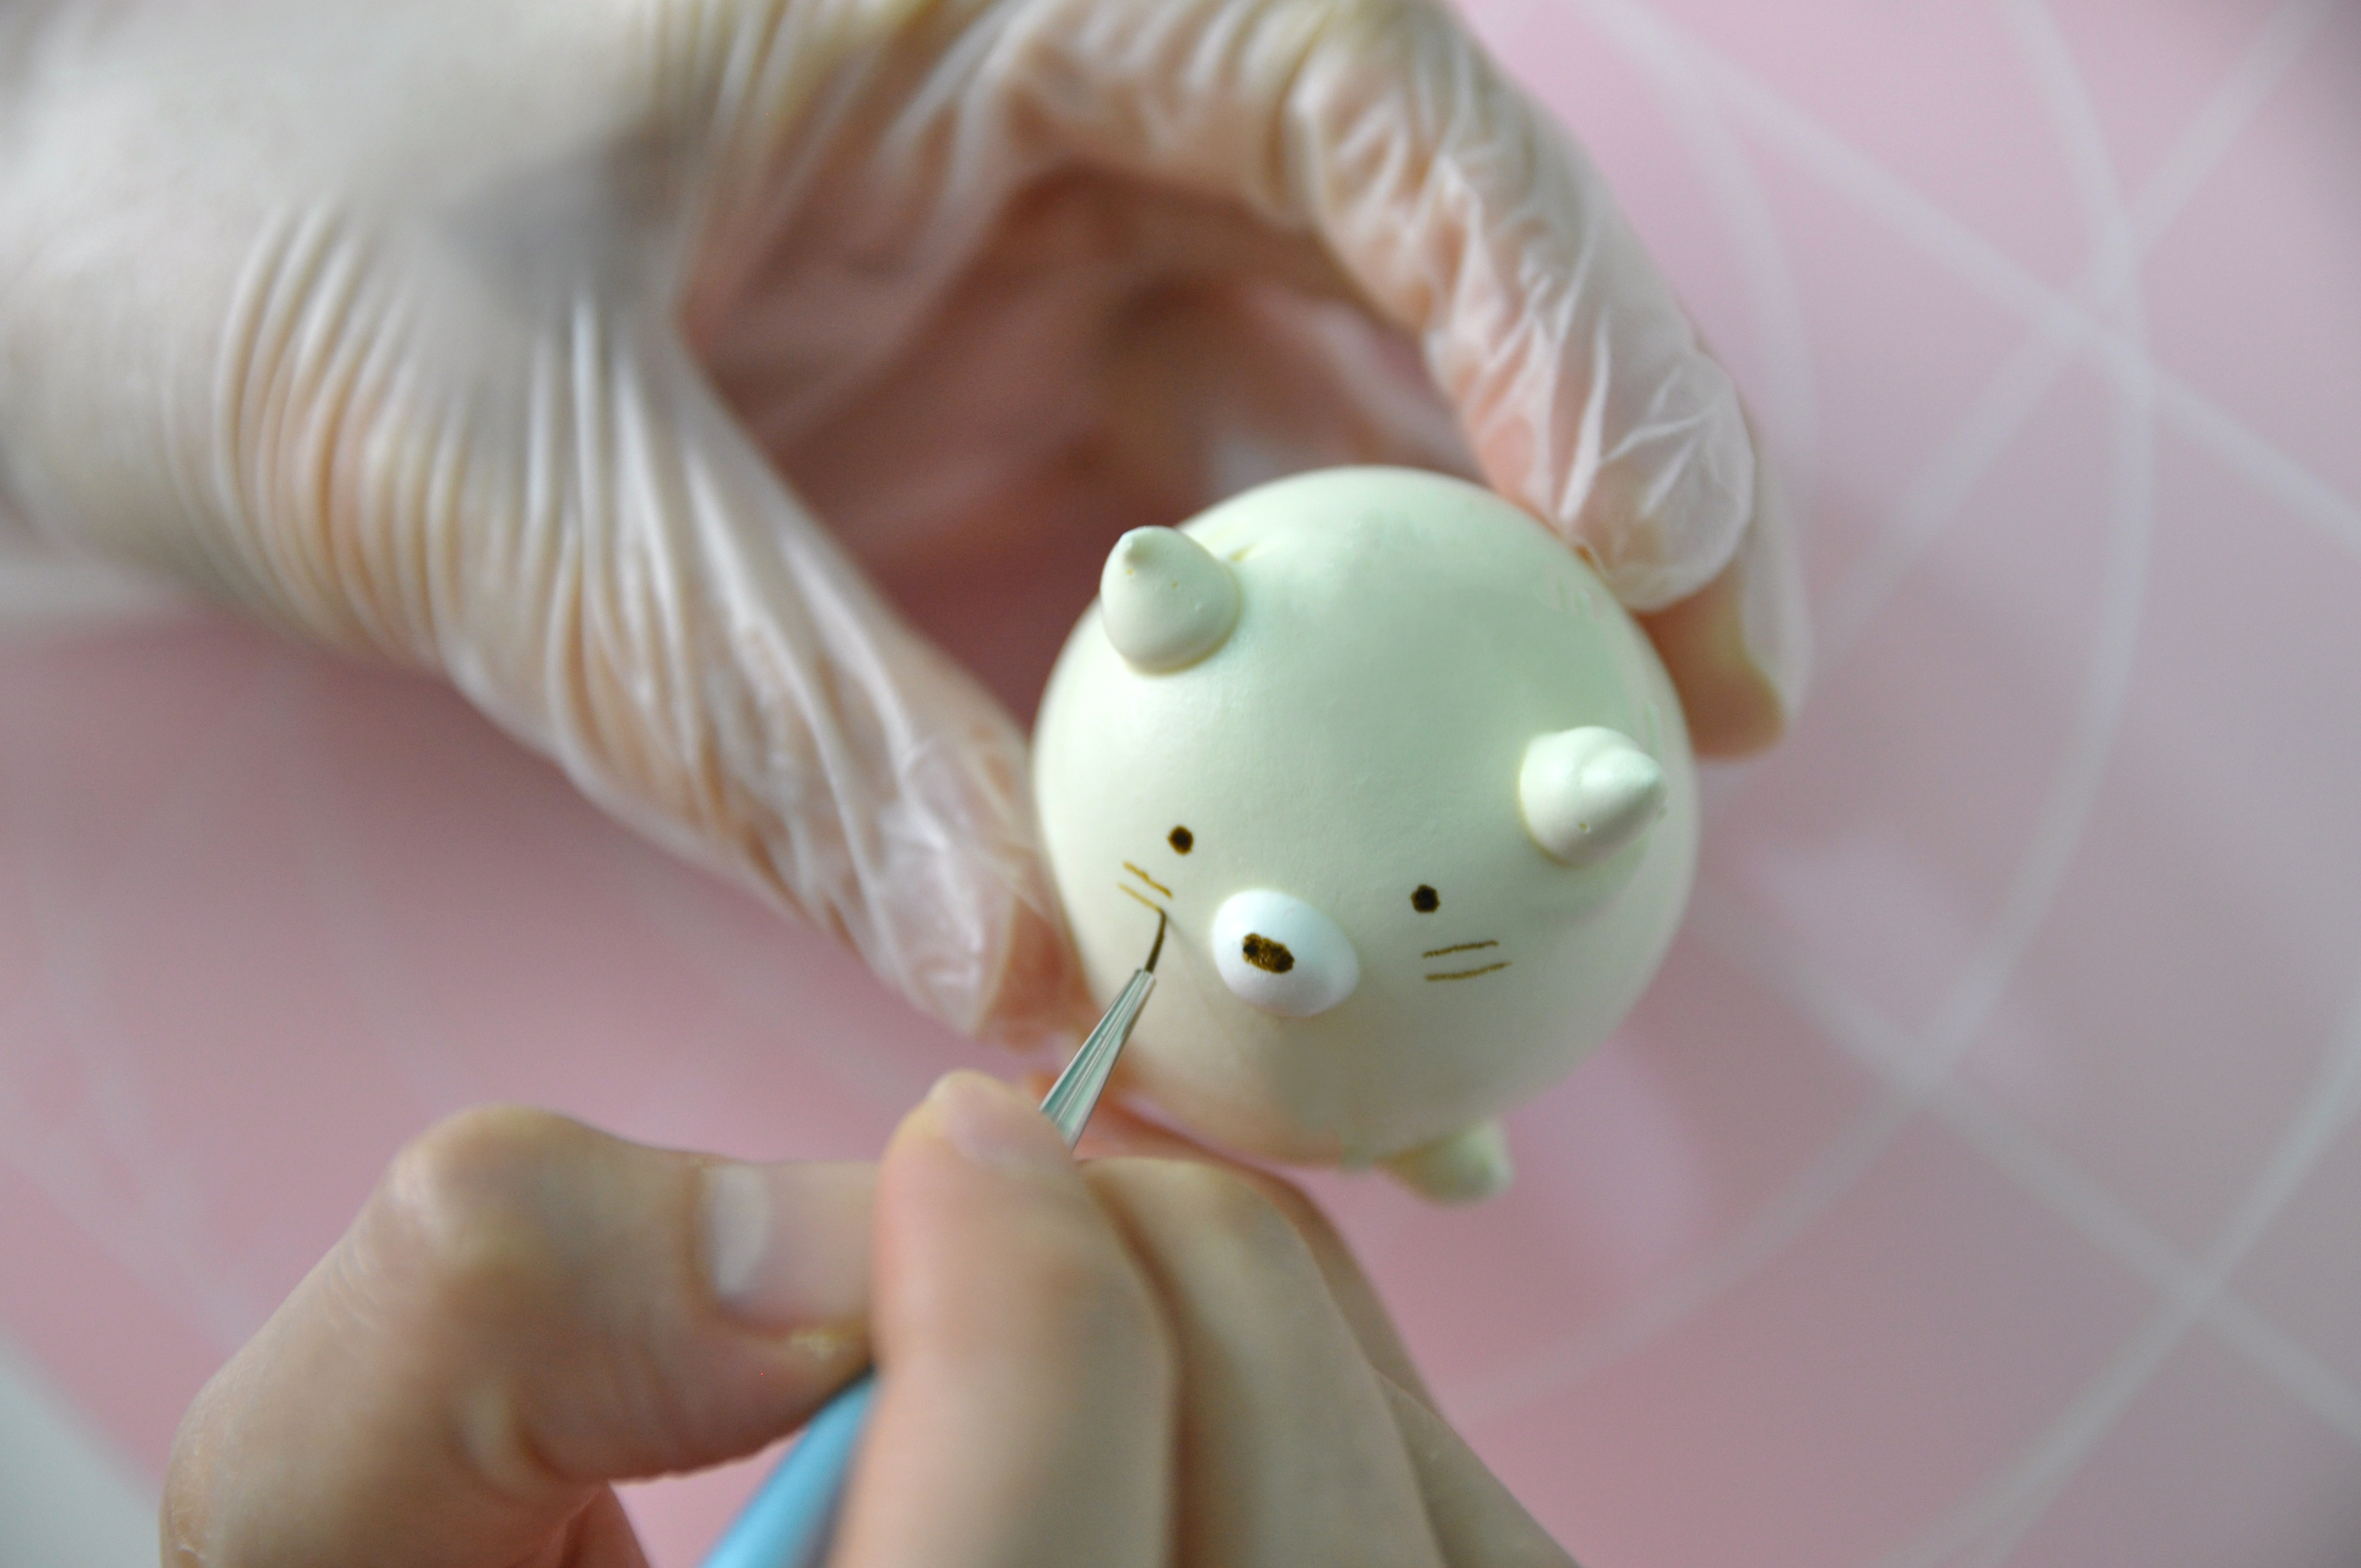
- Create the final details. I used Americolor food gel colouring mixed with vodka (rhum or lemon or vanilla extract will works too), or you can use food decorating pen or edible pen.
* The purpose of adding vodka in the food colouring actually is to thinning and lighten the colour. I am using alcohol like vodka because it evaporates and dry quickly.
NOTES:
- This recipe is so easy to remember. If you want to double or triple the recipe, just remember that the amount of the icing sugar is always twice as the egg whites.
- Make sure that the bowl and beater that you are using to beat your meringue is completely grease and moisture free. Any moisture can ruin your meringues.
- Crack your eggs in a separate bowl when separating the whites. Even a tiny bit of yolk can also ruin your meringues, so crack each egg in a small bowl before adding it to the bowl that you will be mixing the meringue batter in.
- Do not whisk the meringue on high speed with an electric mixer. This will form an airy foam with lots of large air bubbles. When baked, these large masses of air have a greater ability to expand than smaller air bubbles, causing the mixture to rise, spread and crack unevenly.
- Don’t stop until you get stiff peaks. The batter will take several minutes, at least, of beating to achieve stiff peaks, but keep going. It will increase in volume and be very thick and glossy — that’s what you’re looking for!
- Don’t over-beat your batter, either! Once you hit stiff peaks, stop! You can stir in your extract and any food coloring at this point, but don’t push it because over-beating the batter is just as bad as not beating it enough.
- Do not bake it at too high temperature. The intense heat will cause the air bubbles to expand more efficiently, causing the mixture to rise, spread and crack.
- You can store the meringues at room temperature in an airtight container for up to 3 weeks. Line parchment paper between each layer of meringues.

My meringue cookies baked perfectly but as I allowed them to cool from the oven, they started to “melt.” They became sticky and stuck to one another, so I couldn’t put them together in a treat bag. Any suggestion on what I could do to fix this? I did add cream of tartar and a pinch of salt to the recipe.
LikeLike
Hi, a common problem that makes the meringues sticky after baking is under-baked. This happen when the cooking temperature is too low or the baking time is insufficient.
Under-baking means there’s too much liquid left in the meringue which causes the foam to collapse and the excess liquid to seep out.
I suggest to place the oven thermometer inside to make sure that you get the right temperature. Hope this helps.
LikeLike